
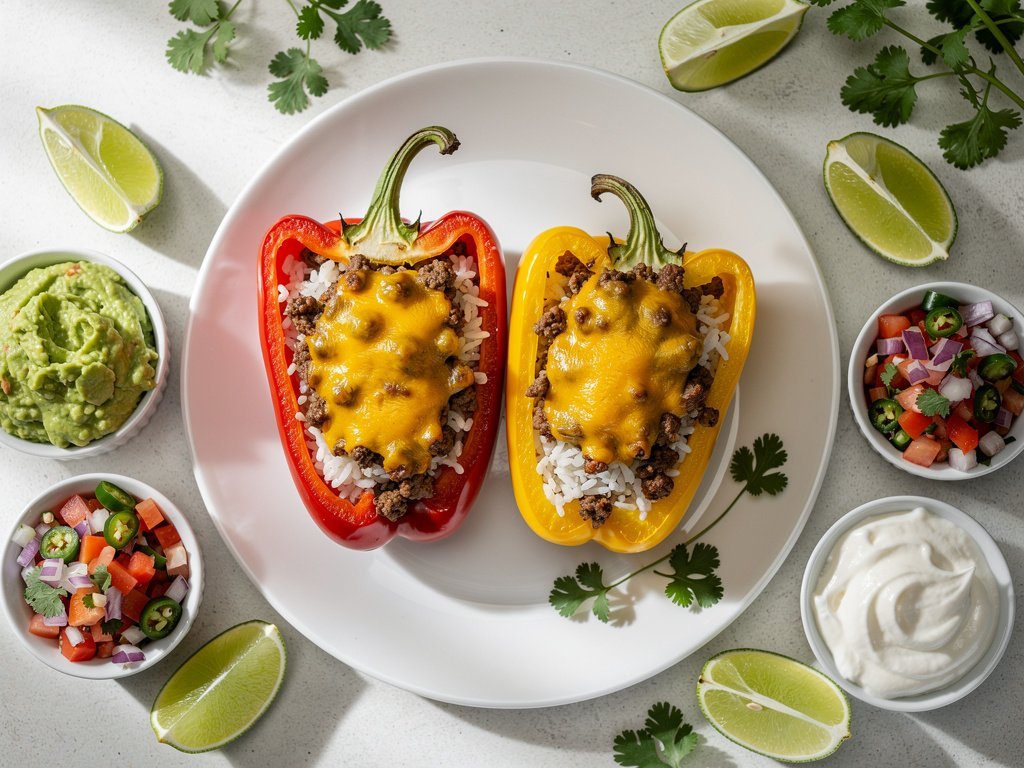
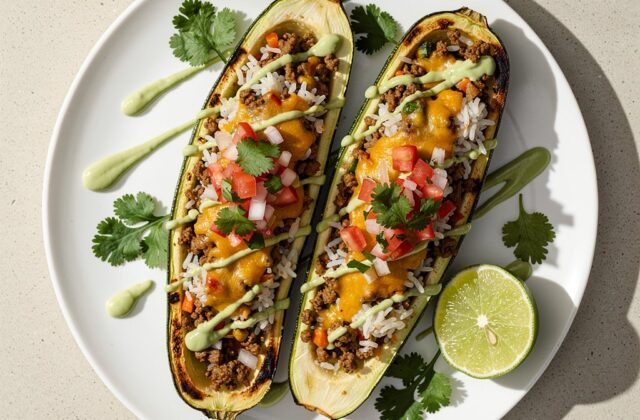
Stuffed bell peppers are a classic comfort dish that never goes out of style. This version is packed with Mexican-inspired flavors: seasoned ground beef, fluffy rice cooked with tomato paste and a blend of melted cheese on top. Serve them with fresh guacamole, tangy pico de gallo and a dollop of sour cream for a meal that’s as colorful as it is delicious.
This recipe makes enough for a crowd or for leftovers the next day. The peppers are roasted until tender, then filled with a savory beef and rice mixture, topped with cheese and broiled to bubbly perfection. It’s an easy, impressive dinner that the whole family will love.
Log in to save recipes and build weekly shopping lists.
Recipe details
Nutrition per serving
Dietary labels
Allergen check
Values are calculated per serving from ingredient amounts and the ingredient nutrition reference per 100g. Allergen and diet labels use available ingredient metadata and name matching; always check product labels for strict diets or allergies. Some ingredient amounts or nutrition values were incomplete, so this is marked as a partial estimate.
Ingredients








Instructions
- Adjust rack to top position (top and middle for 8 servings) and preheat oven to 425°F. Heat a drizzle of oil in a small pot (medium for 8) over medium-high heat. Add tomato paste and cook, stirring, until darkened, 1-2 minutes. Add rice, 1 stock concentrate (2 for 8), 1¼ cups water (2¼ cups for 8) and a pinch of salt. Bring to a boil, cover, reduce to low simmer. Cook until rice is tender, 15-18 minutes. Keep covered off heat until step 4.
- Meanwhile, wash and dry produce. Halve bell peppers lengthwise; remove stems and seeds. Peel and mince or grate garlic. Place peppers on a baking sheet (divide between two sheets for 8). Drizzle each half with oil; rub to coat. Season with salt and pepper. Arrange cut sides down; roast on top rack (for 8, roast on top and middle racks, swapping halfway) until tender, 10-15 minutes.
- While peppers roast, finely dice tomato. Roughly chop cilantro. Trim and thinly slice scallions, separating whites from greens. Quarter limes. In a small bowl, mix tomato, scallion whites, half the cilantro, juice from 1 lime (for 8, use all cilantro and juice from 2 limes) and a pinch of salt and pepper. Heat a drizzle of oil in a large pan (two large pans or work in batches for 8) over medium-high heat. Add beef, garlic, Mexican Spice Blend, remaining stock concentrates, salt and pepper. Cook, breaking up meat, until browned and cooked through, 4-6 minutes. Using a slotted spoon, transfer beef mixture to a large bowl.
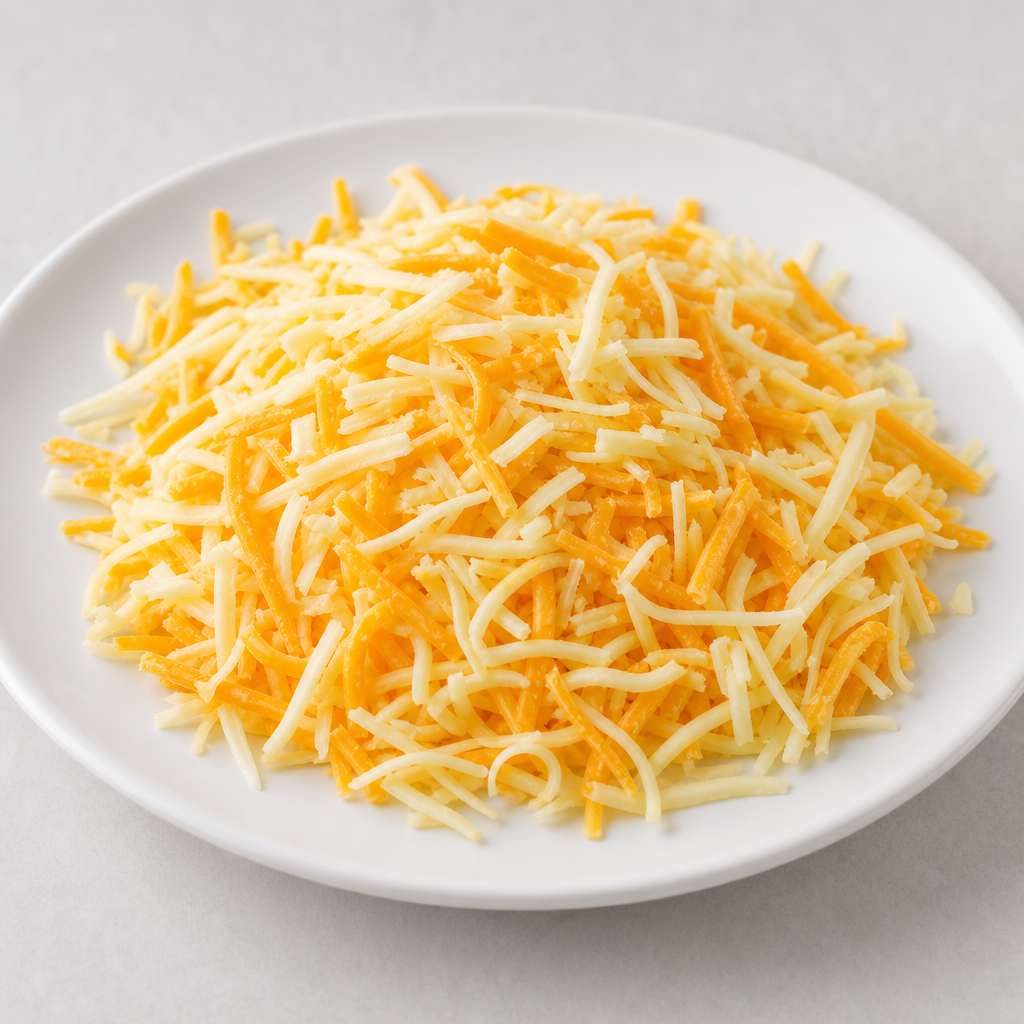
- Fluff rice with a fork (it’s OK if rice has extra liquid); transfer to bowl with beef mixture. Stir until combined. Taste and season with salt and pepper if desired. Once peppers are done, remove sheet from oven. Carefully flip peppers and stuff each half with as much filling as will fit. Sprinkle with Mexican cheese blend.
- Heat broiler to high or increase oven to 500°F. Transfer stuffed peppers to top rack and broil or roast until cheese is melted and bubbly, 2-4 minutes (for 8, broil or roast in batches). Watch carefully to avoid burning.
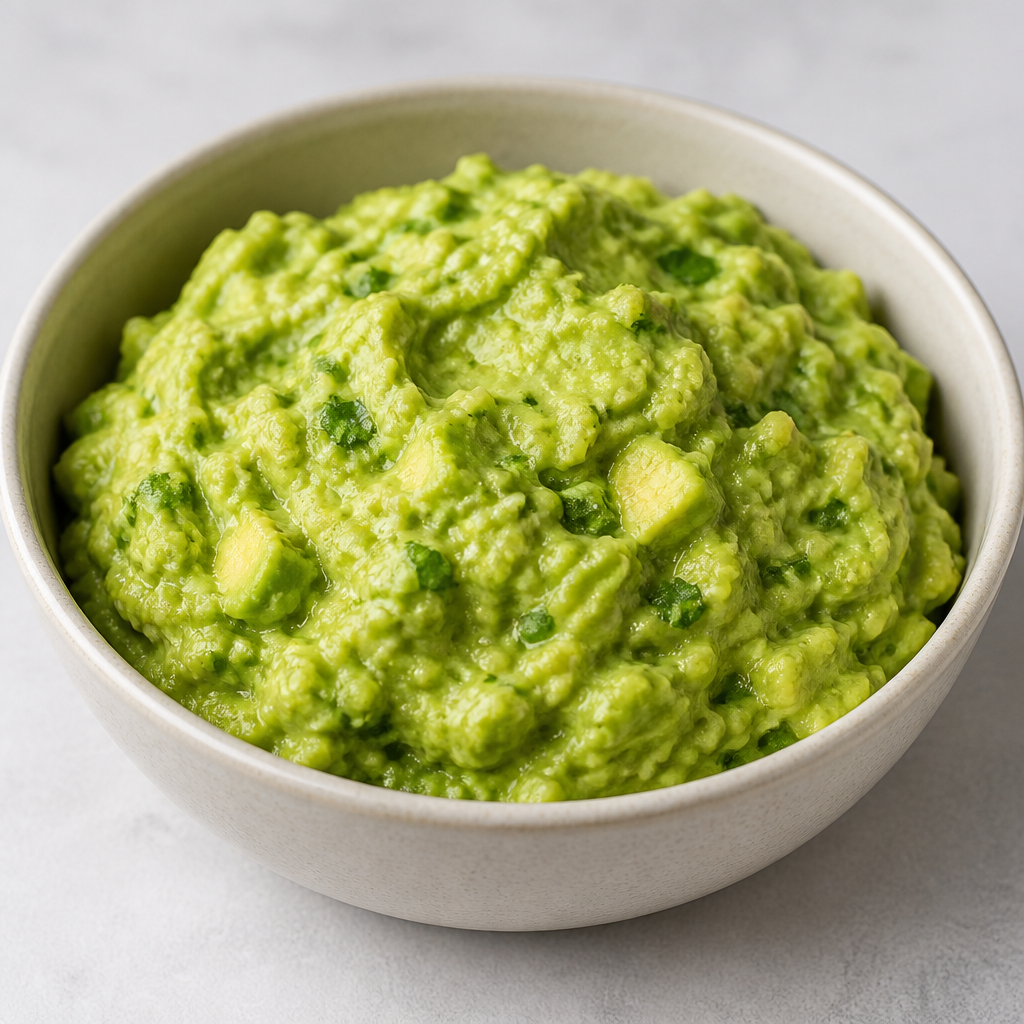
- In a small bowl, combine guacamole and a squeeze of lime juice; season with salt and pepper. Divide stuffed peppers between plates. Top peppers with juice from two lime wedges (four for 8). Garnish with scallion greens. Serve with guacamole, pico de gallo, sour cream and remaining lime wedges on the side.
Recipe Tips
For extra heat, add a few dashes of hot sauce before serving.
If you prefer a vegetarian version, substitute the ground beef with black beans or plant-based crumbles.
FAQ
Can I use a different type of cheese?
Yes, you can substitute the Mexican cheese blend with shredded cheddar, Monterey Jack or a mix of your favorites.
How do I store leftovers?
Store leftover stuffed peppers in an airtight container in the refrigerator for up to 3 days. Reheat in the oven or microwave.
Can I make this recipe gluten-free?
Yes, this recipe is naturally gluten-free. Ensure your stock concentrates and spice blends are certified gluten-free if needed.








Recipe comments
0 DandyRecipes comments
Log in to comment on this recipe.
No DandyRecipes comments yet.